

 See My Latest Article on HelloNation
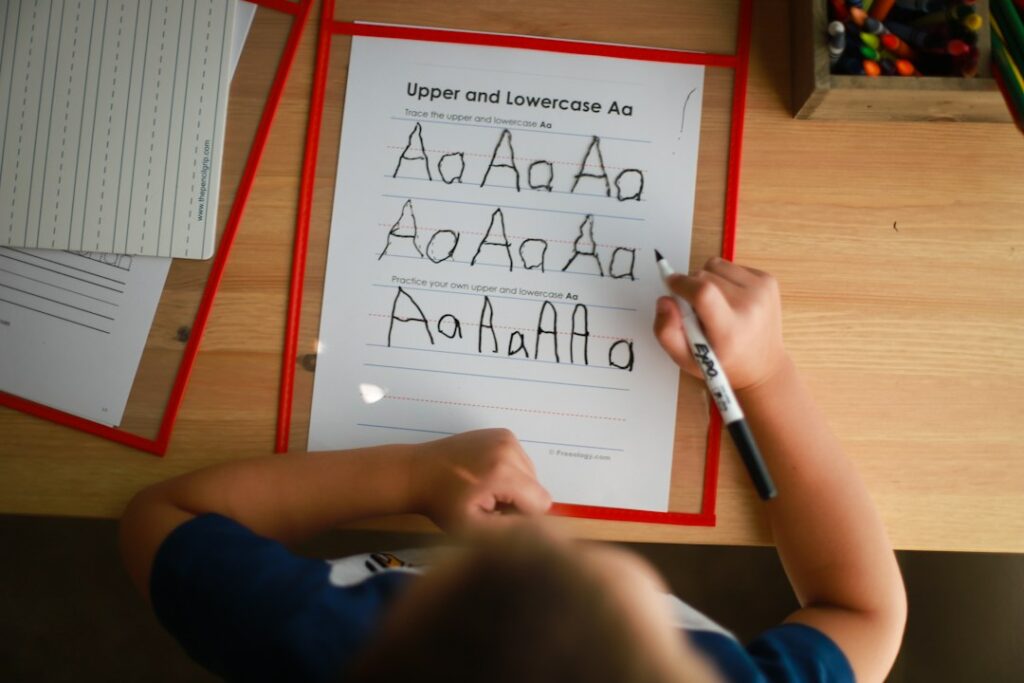
Learning to write Hebrew clearly requires more than memorizing the alphabet. Writers need to understand right-to-left direction, distinguish printed letters from handwritten forms, place letters accurately on the line, and develop steady movement from one character to the next. For learners in Englewood, NJ, regular short practice sessions at home can make handwriting feel more natural and less intimidating.
What makes Hebrew handwriting different?
Hebrew is written from right to left, but individual letters are generally formed with familiar top-to-bottom and left-to-right hand movements. The main challenge is coordinating the direction of the line with the shape of each letter.
Hebrew also has two commonly encountered styles:
- Block or print letters, used in books, worksheets, signs, and many beginner materials.
- Cursive handwriting, used for personal notes, classroom writing, informal messages, and everyday handwriting.
These styles may look quite different. A learner who recognizes printed Hebrew may still have difficulty reading cursive Hebrew until the letter forms have been studied separately. It is usually easier to become comfortable with block letters first, then add cursive forms gradually.
Should learners begin with print or cursive letters?
Most beginners benefit from learning to read and write block letters before practicing cursive. Print forms make the alphabet easier to compare, label, and review. They also help learners understand which letters change shape at the end of a word.
Cursive should not be treated as a completely separate alphabet. Many cursive forms are simplified versions of familiar letters. The goal is to recognize the basic features that identify each character, even when the handwriting is quick or slightly uneven.
A practical progression is:
1. Learn to identify and copy block letters.
2. Practice writing short syllables and words.
3. Compare the block and cursive forms of the same letters.
4. Copy short words in cursive.
5. Move to brief sentences and personal writing.
Introducing every cursive form at once can create unnecessary confusion, especially for young learners.
How should Hebrew letters be placed on the line?
Hebrew handwriting becomes easier to read when letters sit consistently on a baseline. Most letters occupy the same general writing area, while a few have distinctive shapes that extend above or below the line.
Learners should watch for three features:
- Baseline: The bottom of most letters should rest at a similar height.
- Height: Tall strokes should be clearly taller than shorter parts of the word.
- Spacing: Letters should be close enough to form a word but not so close that they blend together.
The final forms of כ, מ, נ, פ, and צ are written differently when they appear at the end of a word. These forms often extend farther below the baseline or have a noticeably different outline. Practicing them in final position helps prevent hesitation during writing.
Using lined paper can help, but the lines should not become a substitute for observing letter proportions. Some learners benefit from paper with wider spacing at first, especially when developing control of tall and descending strokes.
What is the correct direction for writing a Hebrew word?
A Hebrew word begins on the right and continues toward the left. Writers should leave enough room on the page before starting, because beginners sometimes run out of space and compress the final letters.
A useful exercise is to place a small mark at the right side of the writing area before copying a word. The learner starts there and moves leftward. This simple visual reminder is especially helpful for children who are also practicing English or another left-to-right writing system.
The page itself should be positioned comfortably rather than held rigidly. A slight adjustment of the paper can make the writing direction feel more natural. The writing hand should move freely across the page without excessive pressure.
How can learners form letters more accurately?
Accuracy improves when each letter is practiced as a sequence of simple movements rather than as one complicated shape. For example, a learner can identify where a letter begins, which stroke comes first, where the main turn occurs, and where the letter ends.
Instead of filling a page with a single letter, use a focused pattern:
- Write the letter slowly three times while looking at a model.
- Write it three times while saying the letter name.
- Write it three times without looking.
- Compare the results and correct one feature at a time.
This method is more useful than repeating a poorly formed letter many times. Pay particular attention to letters that can look similar when written quickly, such as ד and ר, ה and ח, or ו and י.
The goal is not artistic perfection. A readable letter with consistent proportions is more valuable than a decorative letter that is difficult to identify.
How do vowels and dots affect handwriting?
Hebrew vowels, known as niqqud, are small marks placed above, below, or inside letters. They are especially useful for beginners because they show pronunciation. However, they can make spacing and alignment more demanding.
When practicing with niqqud, write the main letters first and add the vowel marks afterward. This keeps the word structure clear and reduces the chance of placing a mark too close to the wrong letter.
Learners should understand that ordinary adult Hebrew often appears without niqqud. A person may need to read fully pointed practice material while gradually becoming familiar with unpointed words. Careful handwriting practice with vowels supports reading development, but it should not create the expectation that every Hebrew text will include them.
What common handwriting mistakes should be corrected first?
The most useful corrections are those that affect readability or meaning. Common problems include:
- Reversing the direction of an entire word.
- Leaving out a final letter form.
- Making letters so large that words become difficult to space.
- Joining letters that should remain separate.
- Confusing similar shapes.
- Placing niqqud over the wrong part of a word.
- Writing too quickly before the letter forms are stable.

Correct one or two problems at a time. Constantly stopping to correct every small detail can make practice frustrating. A short review after each line is usually more effective than interrupting every letter.
It also helps to read the written word aloud. If the writer cannot identify the word afterward, the handwriting may need clearer spacing or more distinct letter shapes.
How much practice is enough?
Short, frequent practice is generally more effective than occasional long sessions. Ten to fifteen minutes several times a week can build control without causing fatigue. A simple session might include:
- Two minutes reviewing letter names and sounds.
- Four minutes copying individual letters.
- Four minutes writing short words.
- Two minutes reading the writing aloud.
- A final minute correcting one recurring error.
Practice at a desk with good lighting can reduce eye strain. In homes where space is shared or study areas change throughout the day, keeping a small folder with lined paper, a letter chart, and completed exercises can make it easier to continue consistently. Seasonal indoor routines can also be useful during colder or wetter periods, when learners may spend more time practicing at home.
How can parents and adult learners give helpful feedback?
Feedback should describe the writing rather than judge the writer. “The letters are clear, but the word is moving upward” gives a learner something specific to adjust. “That looks messy” does not explain what to change.
Praise useful habits such as:
- Starting each word on the right.
- Keeping letters on the baseline.
- Leaving visible spaces.
- Remembering final forms.
- Slowing down when a letter becomes unclear.
A learner should also see examples of natural handwritten Hebrew, not only perfectly printed worksheets. Comparing several handwriting samples helps establish that handwriting can vary while remaining readable. The essential standards are direction, recognizable letter forms, appropriate spacing, and accurate word structure.